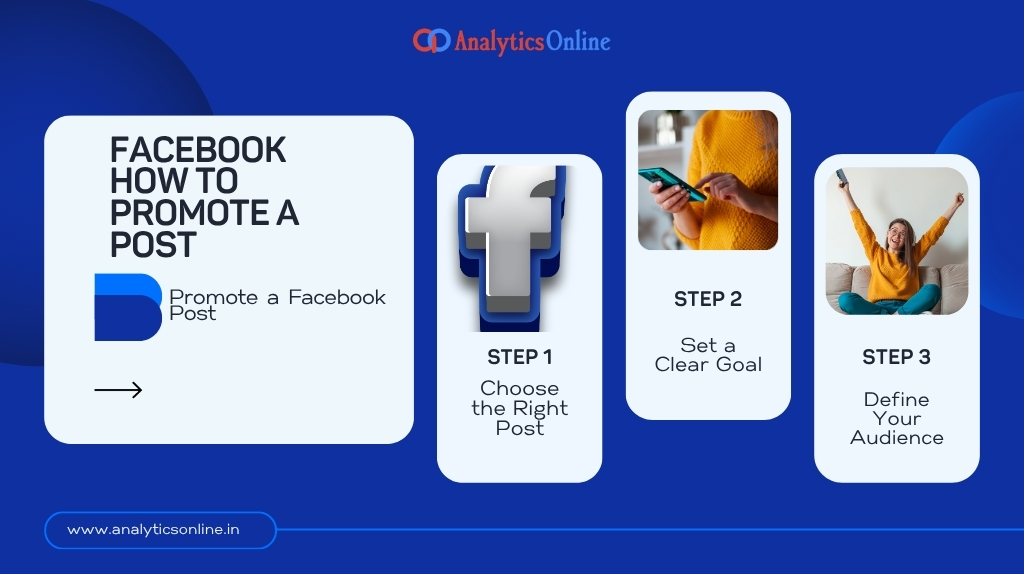
If you’ve ever wondered how to promote a post on Facebook, you’re not alone. Many small business owners and creators want their content to reach more people — but without wasting money or getting lost in the settings. Today’s Facebook tools make it simple to promote your best-performing posts, even if you’re new to digital marketing.
Why Promote a Facebook Post?
Promoting a post (also known as “boosting”) helps you increase the reach and visibility of your content. When you boost a post, Facebook turns your regular update into an advertisement that reaches people beyond your current followers. This is perfect for brand awareness, event promotions, product launches, or limited-time offers.
Step 1: Choose the Right Post
Not all posts are worth promoting. Select a post that already has good engagement — likes, comments, or shares. Facebook’s algorithm favors content people already interact with. So, if your post is doing well organically, that’s your signal to promote it.
Step 2: Set a Clear Goal
When you click “Boost Post,” Facebook will ask what you want to achieve. You can choose goals like:
- Get more website visitors
- Increase post engagement
- Receive more messages or calls
- Get more leads
Pick the goal that matches your business objective. For example, D2C brands or local businesses in Patna can use “Get more messages” to connect directly with their audience through Facebook chat.
Step 3: Define Your Audience
Facebook allows different targeting options for your promoted post:
- People who like your page
- People similar to your followers
- A new audience based on interests, age, location, and behavior
If your business targets local customers, choose geographic targeting. For example, as a digital marketing agency in Patna, we often target audiences in Bihar and nearby cities to reach potential local clients.
Step 4: Set Budget and Duration
Even a small budget can get good results. You can start with ₹100–₹500 per day depending on your goal. The more budget you allocate, the larger your reach will be. Boost your post for 3–5 days to gather enough data before evaluating performance.
Step 5: Preview and Publish
Once your settings are ready — goal, audience, budget, and placement — preview your ad. Facebook will show you how it looks across feeds and platforms like Instagram. If everything looks correct, click “Boost Post.”
Within a few hours, your post will start reaching more users. You can track engagement, clicks, and conversions directly from your Facebook page.
Bonus Tips for Better Results
- Wait 2–6 hours after posting before boosting. This gives Facebook time to detect how well your post is performing organically.
- Avoid boosting everything. Focus only on posts that add value to your audience.
- Use good visuals and captions. Clear images and short sentences work best.
- Monitor performance. Keep an eye on metrics like CTR (click-through rate), engagement rate, and cost per result.
Why Work with a Local Expert?
If you find boosting posts difficult to manage, collaborating with professionals can save you time. At Analytics Online, a trusted digital marketing agency in Patna, our team helps businesses design high-performing Facebook campaigns that bring quality leads — without wasting your ad budget.
We analyze your audience, optimize your boosts, track conversions, and make sure every rupee you spend drives real results.
Final Thoughts
Learning how to promote a post on Facebook effectively is one of the easiest ways to grow your business presence online. Start small, focus on your audience, and test your results. With the right strategy and consistency, you can turn every boosted post into a growth opportunity for your brand.
For expert help, contact Analytics Online — the most reliable digital marketing agency in Patna — and take your Facebook marketing to the next level.


